Introduction
For photographers looking to take their images to the next level, post-processing raw images is an essential skill to develop. Post-processing raw images allows photographers to control fine details, adjust color balance, reduce noise and more to get the perfect photo. Read on to learn the basics of post-processing raw images in photography.

Steps For Beginners to Try Processing Raw Images in Photography
If you’re new to post-processing raw images, there are a few steps you can take to make your post-processed photos look professional. First, you should practice getting the exposure right on your camera when you’re taking the shot. This will make post-processing easier and faster in the long run. Then, when you’re ready, try to create a post-processed image from scratch, pay attention to composition, color correction, and exposure. Finally, practice post-processing a series of raw images and compare your results.
How to Get Started With Post-Processing Raw Photos
Post-processing raw photos takes a bit of practice and a few essential tools. You’ll need a RAW photo editor or software such as Adobe Photoshop or Lightroom to get started. Then, set up your workspace and learn how to navigate the editor you’re using. Once you’re comfortable with the editor, you can start experimenting with post-processing techniques.
What You Need to Know About Editing Raw Images
When you’re working with raw images, there are some important concepts to keep in mind. Remember that any changes you make to the photo will be permanent; only the RAW photo can be reverted to its original state. Also, make sure you’re saving your changes in a non-destructive way, as this will ensure you don’t lose your work. Finally, get comfortable with basic editing techniques such as cropping, white balance, adjustments, and more.
Exploring the Benefits of Post-Processing Raw Images
Post-processing raw images offers a lot of benefits for photographers. First, you can fine-tune details in the image that you didn’t catch when you were taking the shot. You can also reduce noise and adjust contrast, saturation, and other settings to achieve the look you want. Additionally, post-processing raw images gives you total control over the final look and feel of the photo.
A Guide to Post-Production for Raw Photos
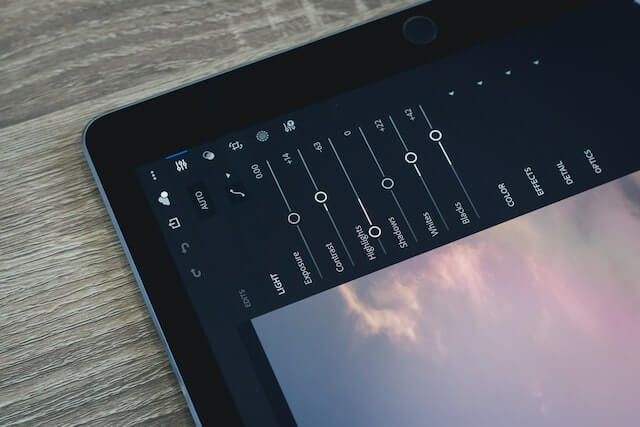
Here’s a breakdown of the steps to post-process a raw image:
- Start by importing your image into your program of choice and make sure it is displayed in its original size.
- Change the color space and white balance settings, if needed.
- Adjust any exposure settings such as contrast, highlights, and shadows.
- Make any other adjustments you need, such as sharpening and cropping.
- Save your image in the resolution, file format, and compression settings that you prefer.
Conclusion
Post-processing raw images in photography can be an intimidating prospect for beginners, but it doesn’t have to be. With the right tools and techniques, you can take your photos to the next level. Start slowly, and experiment with the settings until you find what works best for you. Once you get the hang of it, post-processing raw images will become second nature.
Thanks for reading to the end. Your support means the world to me! If you’re interested in seeing some of my best photography work, check out the Gallery or my Instagram. Some of my images are also available as photo prints, with a selection of my favorites HERE.