
Exposure in photography is defined by SLR lounge as “the amount of light a sensor (or piece of film) receives, and the resulting tonal range captured in that image.” In common terms, exposure is essentially the resulting brightness of your photo. This is determined by the 3 camera settings which make up the exposure triangle (explained below).
In the majority of situations, the photographer’s goal is to achieve a balanced exposure where the resulting image is an accurate depiction of what is visualized in “real-life”. While utilizing the automatic exposure modes, this is what your camera aims to achieve. Your camera contains a light meter that analyzes incoming light and adjusts exposure for the scene depending on your selected metering mode (which will be discussed in another post). If you decide to tackle manual mode, you will notice the light meter at the bottom of your screen.
There are other situations where your goal may be to manipulate the exposure triangle to obtain either an over or under-exposed image for creative effect. This can either be obtained by adjusting your exposure triangle settings accordingly in manual mode or by adjusting exposure composition in automatic exposure modes.
P.S. If you’re interested in seeing some of my best photography work, check out the Gallery or my Instagram. Some of my images are also available as photo prints, with a selection of my favorites HERE.
What is the exposure triangle?
The exposure triangle may seem confusing and a bit daunting to approach. However, bear with me and I will explain the exposure triangle and show you why it’s really not that bad! Visualizing the triangle makes things easier to grasp. Having a good understanding of the exposure triangle will lead to vast improvement in your photos!
The 3 components of the exposure triangle are aperture, shutter speed, and ISO. These elements combined determine the exposure of your photograph. Alterations in these settings will also affect other aspects such as noise, depth of field, and motion blur.

What is aperture?
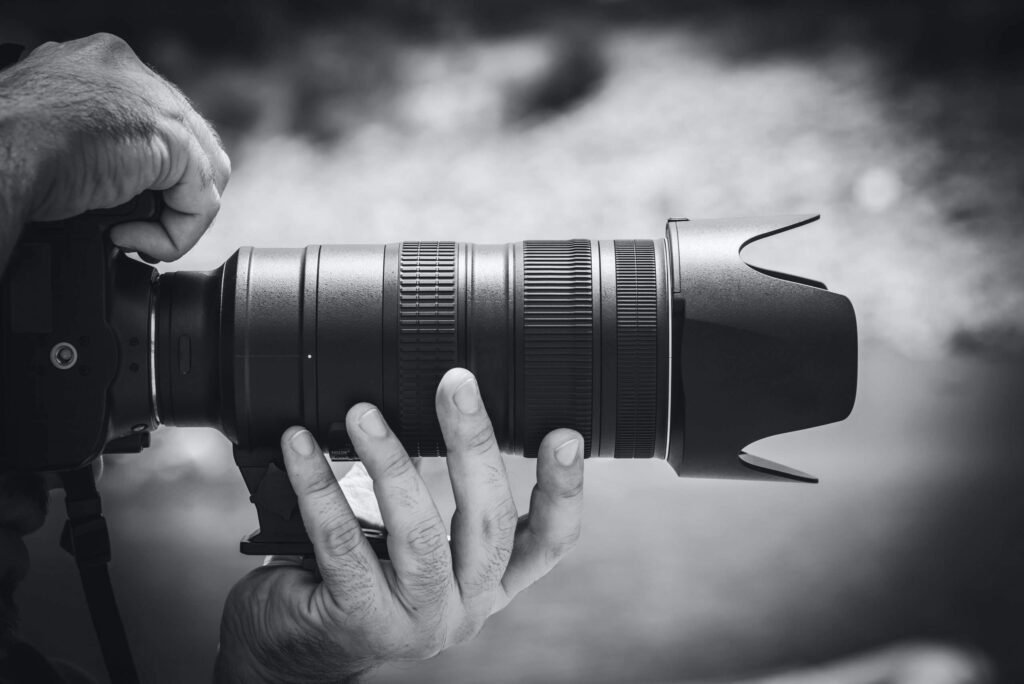
The aperture is contained within the lens and is a diaphragm composed of multiple overlapping blades. This has a small opening in the center. Adjusting the aperture value (f-number) determines the size of this opening and the resultant amount of light that is let through. Think of the aperture as equivalent to the pupil in your eye.
The wider the aperture, the more light that can pass through. It’s just the opposite for a narrow aperture. It may seem counterintuitive, but a larger f/stop number (such as f/22) correlates with a tiny aperture where a small f/stop number (such as f/1.4) will be a large aperture.
As you will also see with shutter speed and ISO, there is always a trade-off when adjusting these settings.
Large aperture (f/1.4):
- Great for low-light
- Very shallow depth of field
Small aperture (f/22):
- Poor for low-light
- Deep depth of field
We will go into greater details about depth of field in another post, but this is essentially how much of the image is in focus.
If you wanted to take a portrait of a white-tailed deer around dusk, a small f/stop number (large aperture) can be great. In this scenario, the large aperture will help provide the light needed for proper exposure, and the trade-off of a shallow depth of field can be visually appealing as you will have a blurred background behind your subject.
On the other hand, say you wanted to capture a landscape image of the fields that you saw the deer in. If you were to utilize the same large aperture to maintain proper exposure, only a thin plane of your image would be in focus. This is why landscape photographers often use small apertures (large f/stop). In this scenario, you would likely need to either decrease your shutter speed and/or increase the ISO to balance out the smaller aperture.

What is shutter speed?
Your camera is fitted with a shutter that is normally closed and covers the image sensor. On DSLR cameras, when the shutter release is pressed, the mirror is raised and the shutter opens. This allows light to pass through the aperture and hit the image sensor. The resultant amount of light depends on how long the shutter is open.
Fortunately, shutter speed is much easier to understand than aperture. It is simply the time that your shutter remains open for light to hit the sensor. There is a wide range you can choose from, like 30 seconds – 1/8000 seconds.
Long shutter speeds like 30 seconds will let in a ton of light, where fast shutter speeds like 1/8000 will only let in a little.
In many photos, where your aim is not to capture motion blur, it’s never bad to utilize the fastest shutter speed allowed by the exposure triangle. As you become more advanced, you may encounter a situation where you’d like to capture long-exposure photos in the daytime. This is where this becomes an issue but we will cover ND filters later for this scenario!
More often, the trade-off with shutter speed is the motion blur associated with slower shutter speeds. This is dependent on the speed that your subject is moving at. For example, you may need a shutter speed of 1/2000 to capture a bird in flight but only require 1/200 for your dog walking around. I think the best thing to do here is just get out and practice.

What is ISO?
ISO is essentially the sensitivity of your image sensor. According to Nikon, “Digital cameras convert the light that falls on the image sensor into electrical signals for processing. ISO sensitivity is raised by amplifying the signal. Doubling ISO sensitivity doubles the electrical signal, halving the amount of light that needs to fall on the image sensor to achieve optimal exposure.”
What this means is that increasing the ISO will increase the brightness of the image. Raising the ISO can help you obtain the perfect exposure without having to decrease the shutter speed and introduce motion blur. However, this comes at a price being digital noise. Noise is the introduction of grain into your image and results in lower image quality.
This is where considering the balance of the exposure triangle for obtaining the optimal exposure in your photography becomes crucial. Say you have a given scene with low-light. Without adjusting the aperture, your options are decreasing shutter speed or increasing ISO. Whether potential motion blur or noise is worse for your photo can be debated. However, you can’t remove motion blur in post-processing but there are tools for reducing noise. Oftentimes I will take multiple photos with varying settings and review them after to decide where the best trade-off was. Practice, practice, practice!

Putting it all together:
Now that you have an understanding of the fundamentals when it comes to the exposure triangle, practice is key! I know I keep saying this but it’s truly the best way to grow as a photographer. By manipulating these 3 variables and visualizing the results you will develop the strongest understanding.
As a starting place for manipulating the exposure triangle, this is how I would typically go about adjusting my settings in manual mode. Alternatively, try aperture-priority or shutter-priority modes depending on which variable is more important for what you’re photographing.
- Set ISO at the lowest setting (often 100)
- Select a f/stop that works well with the subject
- Adjust shutter speed until the light meter reads dead-center (reflecting proper exposure)
- Adequate shutter speed = great, take the photo!
- Too slow? Can I use a tripod to compensate?
- If not, this is where I will increase ISO while trying to maintain the slowest shutter speed that I can get a crisp shot with.
I hope that this article about exposure in photography was beneficial to you! I am relatively new to these write-ups so please comment with any suggestions for the future. Additionally, if you did not see my introductory post about my plans for upcoming articles in this series, check it out here!
Or go on to the next article about composition Here.
Thanks for reading to the end. Your support means the world to me! If you’re interested in seeing some of my best photography work, check out the Gallery or my Instagram. Some of my images are also available as photo prints, with a selection of my favorites HERE.


Pingback: How to get started in photography | Mathew Macey
I know this if off topic but I’m looking into starting my own blog and was curious what
all is required to get setup? I’m assuming having a blog
like yours would cost a pretty penny? I’m not very web smart so I’m
not 100% sure. Any tips or advice would be greatly appreciated.
Thank you
Hi there, sorry for the terrible delay in responding. Unfortunately I had temporarily lost access to my site, but all good now. If you are still interested, I would look into wordpress. WordPress itself is free and then you just need to look into hosting which ranges in price.
Hi, I do believe this is an excellent blog. I stumbledupon it
😉 I will revisit once again since I saved as a favorite it.
Money and freedom is the greatest way to change, may
you be rich and continue to guide other people.
Quality articles is the important to attract the people to pay
a quick visit the website, that’s what this web
site is providing.
Thank you.
Pingback: What Controls Depth of Field in Photography - Mathew Macey Photography
Pingback: 7 Top Photography Composition Rules - Mathew Macey Photography
This article is a gem! The insights provided are very valuable.