

How to get started in photography
Have you been wondering how to get started in photography? Felt overwhelmed? That’s normal! I’m here to show you why learning photography doesn’t need to be so stressful.
P.S. If you’re interested in seeing some of my best photography work, check out the Gallery or my Instagram. Some of my images are also available as photo prints, with a selection of my favorites HERE.
Why I love photography:
Oh man, there are so many reasons to love photography. I think it’s important to start this beginner’s guide to learning photography with some of the associated joys, as it can certainly feel overwhelming when you get your first camera. I still remember the countless times that I said to myself, “what the hell is this button for again?”, always timed perfectly to miss the shot. However, all of the frustrations are well worth it!
Digital photography is a creative hobby with next to no restrictions, and minimal required materials once you have your beginner’s kit. Compare photography to painting. With painting you need to constantly purchase paint, whereas with photography you “simply” manipulate light. With painting, you must purchase your canvases whereas with digital photography you can just format your SD card (hopefully you already backed up your photos!).
My favorite aspect of photography is that it trains your eye to recognize small details that others will miss. I mainly focus on nature photography but I have always been an outdoorsy person. Since starting photography, I’ve noticed that I now recognize beauty in nature in places I didn’t previously. The ability to hone in on a seemingly small detail and capture an image which truly tells a story, is extremely satisfying and addicting.

How long does it take to learn photography?
I suppose this depends how you look at it. On one hand, you could spend years in formal schooling to earn a degree in photography. On the other hand, you could pick up the camera next to you and hit the shutter button. Say your shutter speed is set at 1/60, then I guess that’s how long it took you to become a photographer
All joking aside, I believe that the best way to get started in photography is to just start. As I mentioned earlier, all you have to do is format your memory card if the pictures look horrible. It may take many years for you to reach “professional quality” but you can’t improve without practice. So grab your camera (any will do for now) and start photographing what’s around you right now.
What equipment is needed for photography?
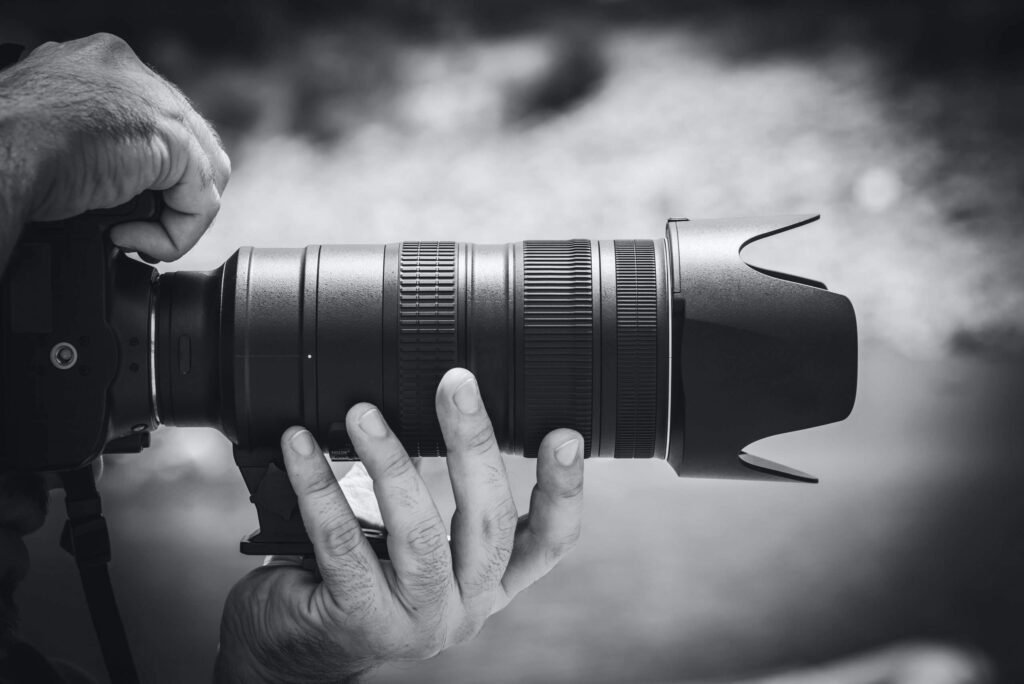
You can go crazy trying to figure out what the best photography gear is and potentially spend a whole bunch of money that you didn’t need to. When I was starting out I obsessed over DSLR camera bodies and lenses and ended up buying a bunch of stuff. It’s the strangest thing, no matter how many new things I bought, my pictures still sucked!
I can’t stress this enough, technique outweighs gear any day of the week!
The best thing that you can do as a beginner is simply practice with what you already have. If you have a DSLR, excellent! if you have a point and shoot or another type of digital camera then great! Yes, even a cell phone when you are starting out is perfectly acceptable. Once you’ve mastered the basics and have a better grasp of what type of photography you enjoy, then consider upgrading your camera. I will put together an article dedicated to choosing a DSLR.
What we will cover in the course:
I will be releasing a series of articles that will teach you how to get started in photography for free. In the meantime, the best thing you can continue to do is practice. Below is the basic overview of what is to come. I will also add the links to this post as they are published.
Exposure:
Shutter speed, aperture, and ISO. The three components of the famous exposure triangle! These control the amount of light captured from a given source. A knowledge of these three properties will get you permanently out of auto mode. We will cover these in detail, including how to leverage each aspect of the exposure triangle to get your desired photo effect.
Composition:
The rule of thirds is probably the most often cited compositional rule. Essentially, imagine your viewfinder is broken up into thirds and try to place items of interest along these lines. This can be very helpful for framing your photos as a beginner. However, Think of it less as a rule and more of a suggestion! We will discuss multiple other compositional “rules” and overall provide some tips for you to create great photos!
Shooting Modes:
Automatic, program, shutter-priority, aperture-priority, or manual. Oh so many choices! We will review all of these in detail, as well as which scenarios are best for each. If you are only comfortable with automatic for now that’s okay! We will change that soon. Play around with program mode as well, as this will allow you to play with some settings but won’t let you screw up too bad!
Focus + Depth of Field:
Similar to shooting modes, there are multiple focus modes. We will review these in detail as well. Depth of field essentially has to do with what percentage of the photo will be in focus. This can certainly be used in creative ways, but can also be detrimental to your photo if you are not careful! Depth of field mainly has to do with your choice of aperture.
Read the article on Depth of Field here!
Lens Basics + Focal Length:
We will cover the different types of lenses, such as prime lenses and zoom lenses. Also, we’ll review what all of the different numbers and markings on the lenses mean. This includes focal length, which is the number in millimeters (mm) that you will see. It’s widely known that more focal length = more reach, but we will also discuss additional effects of focal length.
White Balance:
White balance affects the color cast of the entire image. For now, and honestly my preference the majority of the time, I would leave this on automatic. The reason being that this can easily be altered in post-processing (which we will have you doing as well).
Metering Modes:
Exposure has to do with the amount of light. Metering modes on the other hand tell your camera how you want it to look at the light. Utilizing different metering modes on the same scene, will result in a different exposure. Feel free to leave this on matrix/evaluative mode for now as this will be adequate for the majority of scenes.
Histogram:
Essentially shows you the exposure of a photo in a graphical representation. Useful for seeing how evenly exposed a photo is. Depending on the brightness of your LCD display, the exposure of an image can be misleading so the histogram is helpful to double-check.
Post-processing:
Your main goal for now should be practicing capturing the photos rather than editing them. However, we will certainly get to this point! You don’t need to worry about the intricacies of post-processing at this point, but if I can make one suggestion it’s to set up your camera to capture JPEG + RAW. RAW files are significantly better for making post-processing edits and having the RAW version of your favorite photos at a later date can be very valuable!
Thanks for reading to the end. Your support means the world to me! If you’re interested in seeing some of my best photography work, check out the Gallery or my Instagram. Some of my images are also available as photo prints, with a selection of my favorites HERE.

Pingback: What is Exposure in Photography | The Exposure Triangle Explained
Everything is very open with a clear description of the issues. It was really informative. Your website is useful. Thanks for sharing!
Thank you!